Showing posts with label stuff I've made. Show all posts

Monday, December 12, 2016

Birthday Dress


In November I had a fantastic time celebrating my birthday! I had a few friends over for a Mexican lunch, we ate yummo food, there was a donut cake, and lots of wine and sunshine. It was practically perfect in every way.

That week I also treated myself to a new birthday dress, with soft and delicious fabric called Tencel, which looks and feels like linen, but is actually made from sustainable wood (!!). It's more expensive than anything I would usually buy, but it was exactly what I had in mind so I splurged and blamed the birthday for it.

You can find the FREE link to this pattern and instructions here if you scroll down:: Free All Dressed Up Pattern

It was a great pattern that needed no adjustment except a little sway back pinch in (usual, for my curved back). All of the pieces fitted together, and the instructions were easy to understand. This pattern comes highly recommended by me!

(Why designers go to the trouble of creating a lined bodice, but then don't give instructions for an enclosed need zipper i'll never understand)


DRESS DETAILS:
Fabric: Tencel, sustainable wood fabric (looks and feels like linen). Navy, grey and cream stripes.
Pattern Links: All Dressed Up - Issue 24
Design Details: Princess seam bodice on front and back, front cut pockets and side zipper.

Happy days!
xxx

READ MORE:


Tuesday, November 1, 2016

Dining Table and Chairs DIY


Towards the beginning of the year I bought this table and chairs set off trade me. The chairs have "Yugoslavia" stamped into the wood underneath and they were bought from someone in a rest home, so I guess the family bought them to New Zealand a wee while ago? 

They are sturdy, solid and in great condition, and were a dark brown when I bought them (below).


I spent months sanding these back, painting and varnishing to get it looking this good and I'm so proud of my work.

The table top is great and is a huge step up from the table we had before, which had a glass table top and would always collect spilt weetbix and milk in the cracks between the wood. 

I'm really happy with the finish of this! It's so easy to keep looking nice.


The chairs are a dark navy, although they look a lot darker in this (terrible) photo lighting than they usually do (more accurate colour photos below). 

It took me a long time to decide on my colour scheme. 

Originally I wanted all different colours (green, yellow, blue and pink), but once I finished the table and had it in place I loved how grown up it looked. 

It's probably one of the nicest things we own, and I wanted my chairs to reflect that. I'm on a bit of a navy blue bender right now, so that was the next most obvious choice for me.


I love having my friends over for a cuppa now that we have somewhere nice to sit to enjoy my great view.

Also, the table extends out, so we've had a few dinner parties with everyone squeezed in our tiny dining area. Once you're in, you can't get out! I kind of love it. 


Next up on my project list, I'm thinking a mini wall quilt to adorn the wall in the dining space...

READ MORE:
Tall Boy Duchess DIY

Friday, September 30, 2016

Jungle Dress


Warm spring weather is almost here!

Now I have a fun jungle dress to wear when the sun shines, yipee!


This is a Tilly and The Buttons pattern, from her book Love at First Stitch which I rented from the library. It looks much sweeter on her little petite frame.

I lengthened the bodice by 2cm, and added in some back neckline darts after all was said and done. One of these days I need to try a full-bust-adjustment, because I think I border line need one. Also, sway back adjustment should have been added. I did do an acceptable toile! I swear.

If I was in the Great British Sewing Bee (watch the latest season 4 on YouTube!) I think Patrick would critique that there are some fitting issues, but I've made a wearable garment. 

I've binged the GBSB so much lately that I hear Patrick over my shoulder when I sew now. 
Not such a bad thing, really.


And also, I've sewed the best zipper of my life, so there's that to be proud of. 

That, along with the colours, stretch and fullness of the cotton sateen make it a great dress! I'm looking forward to wearing it more and more, just as soon as the weather decides to kick it up a notch! 


I think I inherited this fabric from Debs stash, along with a free pattern from the Library, and a $8 zipper make this a pretty cheap dress! 


READ MORE:


Wednesday, September 28, 2016

Scrappy Quilt Complete


2 years in the making this quilt is done!

Phew!


This has been my longest project, and definitely the largest in volume! 

Although I started out with much gusto, spurred on by the quick sewing of Deb and Clare who seem to whip quilts up over night, it turns out that no matter how motivated, sewing little 2.5inch squares in rows and blocks is bloody boring. 

So much cutting, so many tiny seams, so much ironing, arranging, mess.


However, over the years I've been learning perseverance, and also I must be upping my standards.

 What would have been "fine" is no longer "fine", and I found myself unpicking 24 meters of top stitching of the quilt top so that I could hand stitch it again. My machine quilting skills were below par, and after musing over it, I set about with the un-picker and spent another month unpicking and restitching by hand for a much nicer finish. 


 All that to say, even though I cursed and loathed this quilt, and went through the 5 stages of grief over it, I eventually came to love it (stockholm syndrome?), and wanted it to look its best. And, it was really great having a project handy that I could pull out whilst watching tv, or something to sew in the sunshine.

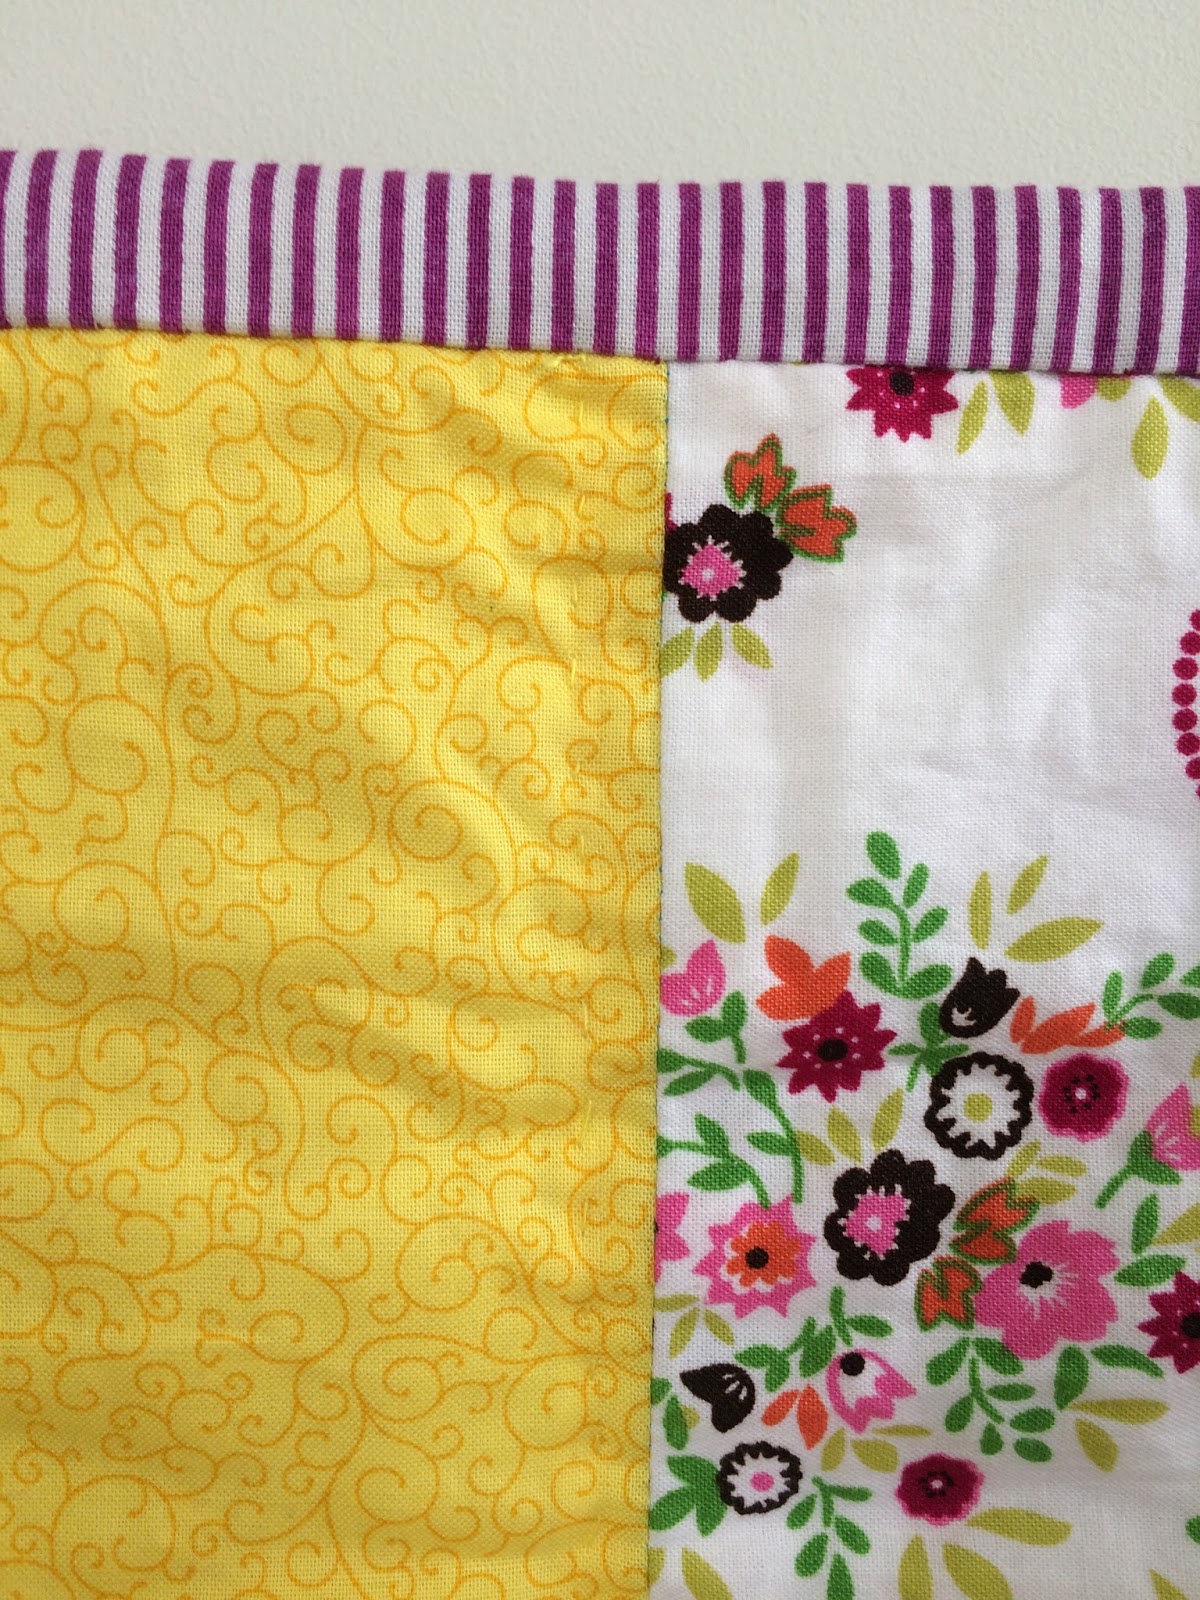
I absolutely love the binding, the backing, the bright colours, the yellow thread, the flowers, the spots, the patterns...

I might even go so far to say, I miss creating it.

But now I have a bright and happy quilt to keep our family warm, and the satisfaction of creating something that has a purpose and is of use to our family is at an all time high.


2 years ago to the day I wrote this Guest Blog Post on Debs Blog, so today I am calling it Finished! Done! 

Thank you for the box of scraps Deb, and for the endless amount of inspiration!

And here's looking at you Clare, for all those tidy rows of squares. Keep on stitching, Sister! 

READ MORE:

Friday, January 29, 2016

i Chart You - Our Genealogy Print


For Christmas I organised and framed this i Chart You print and hung it on the wall for Christmas morning for Graeme to unwrap.

As we have been studying te reo Māori this year, Graeme has been very interested in his whakapapa and has been investigating his own family trees.

I noticed he had a few gaps to fill in, so I took it upon myself to send out a lot of emails to fill in the blanks for him! I was able to find everyones middle names too, but unfortunately many of them couldn't fit in the fields available!


Since Christmas all of our visitors have been drawn to look at it in our lounge. Usually the first thing they note is that Graeme's name is a hypenation of his parents (most people presume its from me), and also that Graemes grandparents changed their surname. 

It sparks a whole lot of conversation and is a great art piece and also information piece for our whānau to have! I almost have every person memorised.

I chart you designed this print and they have lots of other colour combos available. You simply fill in the form they have with all of your relations and they design it up and send it to you as a PDF. Take it to the printers and get it printed and framed! I bought a large design in a frame from The Warehouse and took out their "art", and replaced it with my print to be able to get a square frame this big! 

My advice is to choose your frame first, and to have all your info ready to go! It makes the process much faster, and they can design your print to fit your frame.

This isn't a sponsored post, I'm simply telling you this because I love our print and I see real value in displaying (and learning) your genealogy.


Also today while dinner was cooking I pulled off the old fabric from my footstool and replaced it with these pretty feathers! Amy originally gave me this footstool about 4 or 5 years ago. It's had a cow print on it all this time but was SO grubby from all the use over the years; I'm glad it's got another life covered in blue feathers! Thanks Deb for all the fabric!


Thanks for stopping by! Let me know if you ever get an i Chart! I'd love to see it! 

Friday, October 23, 2015

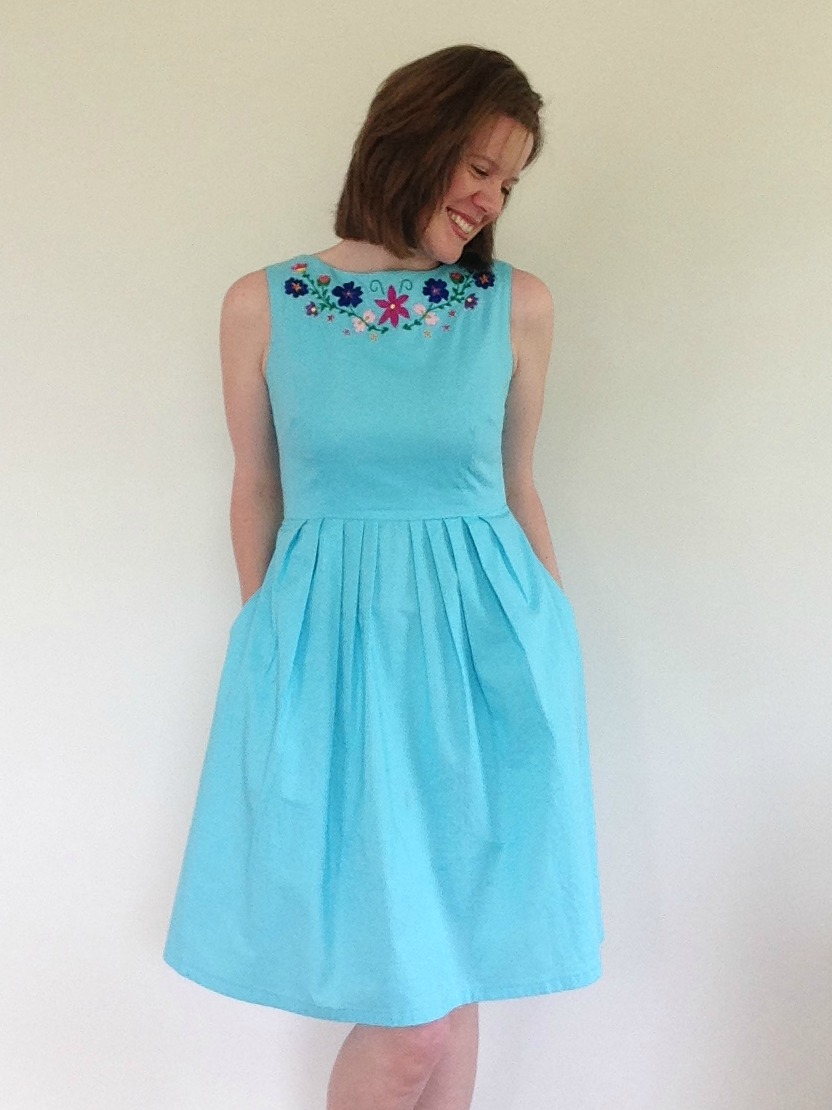
Modern Mexican Embriodered Dress

 Daily Deals by 1-Day


If you've been following me on Instagram, you'll know that this dress has been months in the works! 

It started with me discovering the bright flowers in Mexican embroidery and falling head over heels in love. If I could cover myself in pretty colourful flowers every day, I would. 

Although I love the beautiful embroidery, I'm not such a fan of the traditional peasant dress that the stitching is usually done on. I feel much more comfortable in clothing that fits my curves and accentuates all the good bits. 


And so formed this idea of doing my own embroidery on a dress. First I had to learn to embroider! I practiced satin stitch on a scrap of fabric I later turned into a pouch

And as it turned out, I was fairly good at it. 

I then practiced making this dress pattern for myself (I had previously used this pattern to make 3 bridesmaids dresses earlier this year, but hadn't fitted one to my own body.)

It turned out the pattern needed a LOT of adjusting for my body. 
These adjustments included::
  • Taking in the back neck line so it didn't gape (I used this gaping fix tutorial and it worked a treat) This is a problem I have never had before, and may be related to this pattern.
  • Lifting the waist line up by 3cm (it made all the difference)
  • Sway back adjustment to avoid puckering in the small of my back.
Now that I have perfected this pattern I think I'll need to make another version at some point. If I had known that the pattern would require such restructuring I would have ditched it and chosen a new one, but once you get started on something it's hard to stop! 


Once I was happy with the pattern, I started to embroider onto my fabric that was marked out in pencil. This took weeks sitting in front of the TV each night stitching away, trying to match up my flowers and neatness on both sides. 


As I was stitching onto a large piece of fabric it was hard to tell how the embroidery would look when it was finished, in hindsight I wish I had brought it downwards a little, and also turned it into more of a V shape with the bottom of the V lining up with my sternum. However, I couldn't have known that at the time.

The dress bodice is fully lined and hand stitched closed, and includes an invisible zipper down the back.


I am super crazy happy and proud of this dress. It fits me like a glove, I love the happy colour, and I am very proud of my stitching.


And also, pockets! Who doesn't love pockets?
Thank you so much for encouraging me in my stitching and dress making, my friends will be very happy this project is finished as they've been hearing updates about it for months! And now they will get to see me in it all summer long!

DETAILS:
Blue fabric: 100% cotton
Embroidery: Hand stitched and designed by me using DMC thread
Dress Pattern: New Look 6223


Wednesday, October 7, 2015

Sewing With Kids - A How To

Cheap Flights by House Of Travel


Yesterday while I was sewing a dress for myself, Milla, in 4 year old fashion, asked what age she would be allowed to sew. 

She took me by surprise, and I suggested that she could learn any time. 

And so, capturing the moment, today we sewed up some fabric that I had purchased for her, with the idea of making her and Katie a matching skirt and dress.

My 4 year old is a concentrator and a rule follower, so I knew that she would ace this. My aim wasn't for her to sew the whole skirt herself, but to introduce her to the machine, how it works, and for her to feel respect, and also a healthy fear, towards the needles, pins, scissors etc.

Here are some easy tips on sewing with Little People for the first time::


Sewing with Little People:
  • Keep it simple! A project that can be completed in an hour will bring instant satisfaction, and something they can wear or play with is an added bonus. 
    • Think easy: Skirts, shorts, tote bags, peasant dress, pillow cases, head bands, PJ pants. Are you feeling inspired yet?
  • Have everything you need prepared before you begin, I had my measuring and pattern piece already cut out and ready to go, along with my sewing machine all set up before I even mentioned sewing.
  • If your person is really little, like mine (only 4 years old!) set them up at a smaller table so they can have the joy of pressing the presser foot with their feet!
  • Explain different parts of the machine to them, let them have a go at lifting up the presser foot, doing the back stitch button and the foot pedal. Try them out on a large piece of spare fabric first. 
  • Breathe and encourage. You may suddenly realise just what you have gotten into! 
  • If your Little Person is older and you are leaving all the sewing to them, use little pegs on the edge of the fabric in lieu of pins.
  • Change it up at each step. For one part I asked my daughter to be the presser foot controller, another time she was in charge of back stitching, then she had a go at the foot pedal, another time she helped me feed the fabric through, and then she was in charge of taking out all the pins. 
  • You'll know based on your own child how to keep them interested, safe and learning. 


We made a circle skirt for our Intro to Sewing 101. Milla had a go at all parts of it, and she tells me her favourite was pushing it down with her foot. 


I clued myself up on the Dana Made It Circle Skirt Tutorial so that when it came time to sew, I knew exactly what I was doing. 

The maths (pi and radius, yikes!) checks out, and fits perfectly! 

Instead of using the wide exposed elastic band like in the tutorial, I made a little casing with some extra fabric and the same waist measurements, and used 3/4" elastic inside it. 

To finish it off we used pre-made bias binding along the edge, which I let Milla choose the colour of. She was thrilled to have some choice and control in a process which is completely new to her. 

As binding is quite tricky for little fingers, I pinned it all in place and sewed very slowly around. I noticed half way through that Milla also had her foot on the foot pedal, ever so gently, just feeling for how I was pushing it down. During the binding step, Millas job was to pull each pin out before I sewed over it. 


She was so careful, and was a real delight to work with! 

We will definitely be sewing together again soon. 


Her twirly skirt is SO whirly! She loves it! 

Thanks for stopping by and reading my blog, your encouragement spurs me on! x

READ MORE SEWING:


Wednesday, September 30, 2015

Cinderella Dress DIY


When I saw the new Cinderella Movie from 2015 I was over come with a need to sew a beautiful princess dress. Aside from a wonderful story line about "have courage and be kind", the costumes in the movie were absolutely stunning!!

With my little girls 4th birthday approaching, I showed her 4 dress options on my phone and said that I could make one of them for her (1950's cinderella (which is her favourite), Elsa, New 2015 Cinderella and a pretty purple princess dress). She choose this blue number and so I went out and bought metres and metres of blue satin and tulle. 


In fact there is about 10 metres of fabric to her dress!


I drafted the dress all by myself, using a dress that she already fitted as a guide for the bodice size. I included bodice lining, princess seams down each size, a triangular dip at the front and an invisible zipper at the back. 


And this poofy thing that wraps around the shoulders and tucks into the zipper seam, which is tacked on at the shoulders to keep it in place. 

And the butterflies. Of course. They required their own shopping trip as I had forgotten all about them. When my daughter saw it half complete she enquired as to where I was going to put the butterflies, so we popped out then and there to get some! 

The skirt part has 4 layers to it; Satin, white tulle and 2 soft drapey tulle layers.


While I was making the dress the girls Nana looked after them for the afternoon so I could get some serious sewing time in. When it was completed, Nana arrived to gift these "glass slippers", crown and jewellery. Camilla and I were delighted, it was such a thoughtful gift :)


I am very happy with this dress, and so is our Little Princess.

We took her and her cousin to Disney on Ice for the first time that week and she was allowed to wear her Cinderella Dress, and then it was put away for her birthday later that month. Here she is at both events:


And now she wears it any chance she gets! 

It fills me with so much joy to see Milla spinning around without a care in the world, we really are so blessed! x

Ps, I found this beautiful free Cinderella printable that we framed and put above Millas bed for her birthday.

READ MORE:


Pin It button on image hover