Last week I taught you how to find the dimensions for your blog header, and before that gave you some useful side bar tips for your blog.
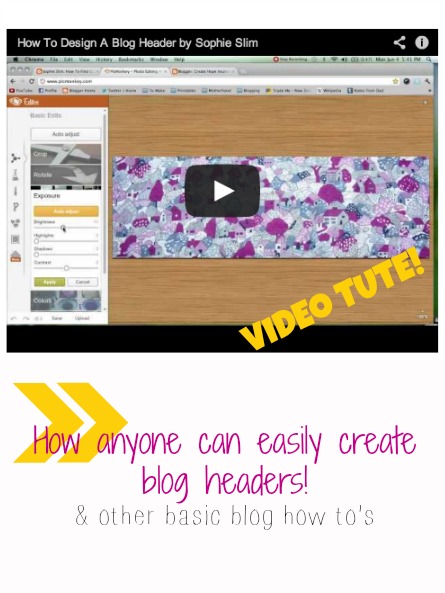
This week I am showing you (in a video!!) how to turn those dimensions into a real life header.
All you need is a web browser, those dimensions and a photo while you're watching this video I made:
Here I use picmonkey to create a custom header for Miriam at Create, Hope, Inspire.
READ MORE:
How to find the size of your blog header
Introduction and side bar tips
How to create side bar buttons
How to create pages and tabs
How to get your blog found by Google
How to link your email address to your blog comments
Have any questions for me? Leave them in the comments or email me direct on sophie AT moo2.co.nz


Oh go on then :P I'm enjoying your tutorials xx
ReplyDeleteYay! I'm so pleased! :)
Deletex
Do I get to be the guinea pig for all the makeover posts?? Love this will put a link onto it on my blog too!
ReplyDeleteI hadn't thought of that - but SURE! why not!?
DeleteSounds great. Enter me! :D
ReplyDeleteI'm going to try and follow your instructions to tweak my header, but i'd like to enter your comp in case it all goes wrong lol!
ReplyDeleteI really want to win a nice new button for my blog. Seriously.
ReplyDeleteThank you for this. I was tearing my hair out over getting an image on my header to fit. Worked perfectly.
ReplyDeleteI love seeing fellow Kiwis using PicMonkey! -Brenda (PicMonkey Team)
ReplyDeleteThis was so helpful, can't believe how easy it was! Thank you!
ReplyDeleteThis was helpful. Thank you.
ReplyDeleteHow do you do a blog title that has a white background like yours and it not have a shady gray tint?
thank you so much! this really helped me!!!
ReplyDeletehttp://karthisilver.blogspot.com
I went to Picmonkey and couldn't do the first thing, find out how to put the image in. Can you please show me? I can't find the page you show on the video.
ReplyDeleteThanks.
Jan